This piece was created for the Kinetic Rush CG Challenge, where I rebuilt the provided run cycle with fresh animation. Drawing inspiration from Leo Tolstoy’s novel Anna Karenina, I explore Anna’s flight from her stifling aristocratic world into a realm of freedom. To support that narrative, I’ve chosen a Vibrant Flat Illustration style—bold silhouettes, saturated hues, and minimal detail—and will unify every element (character shapes, background architecture, motion accents, and typography) under one cohesive art direction. I need to maintain a unified color palette and apply a similar palette knife throughout, the animation will stay vibrant and visually unified from the first frame to the last.

The character mesh was created in Blender with detailed features, including muscle definition and dress folds, which were sculpted in ZBrush. Although an armature and animation were provided for the kinetic challenge, I reworked the animation to create a run cycle in which the character stumbles more noticeably. Additionally, I added minor rigs for accessories, such as the earrings.

The character mesh preserves the larger details prior to rigging, enabling more accurate interaction with light and shadow. For garments with greater freedom of movement, a combination of rigging and cloth simulation was used to better replicate the flexibility and natural behavior of fabric.

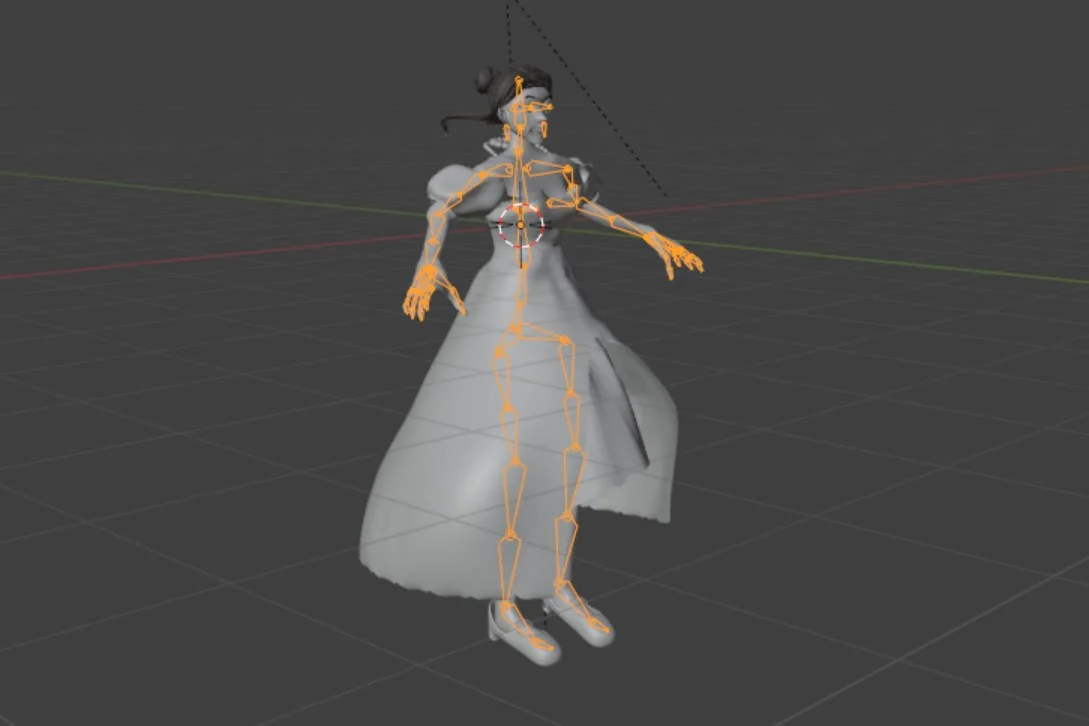
Additional bones have been added to the armature to add control over small attachments, such as the dangling earrings.

To create a vibrant flat illustration style, I experimented with various lighting and shadow approaches before doing the final render. Gradient Mapping and Color Ramp were frequently used nodes to achieve a stylized, painterly look, featuring oversaturated core shadows and desaturated bounce light for dramatic effect. For the cast shadows, the edges were detected using the Shader to RGB node to perform an edge detection operation. Once the lighting setup was visually and aesthetically validated, I saved it as a reusable node group and applied it to the final scene.

To keep the viewer’s focus on the animated character, I created a contrast between the texture of the main figure and the surrounding environment—an approach often used in early Disney films, where a simple character design is paired with a more detailed background. The textures for the wall and carpet were inspired by modern oil painting techniques, particularly the work of artist Jeremy Mann. The carpet texture began with a simple graphic pattern, which was then stylized using an oil painting brush filter and further processed in Adobe Sampler to create a seamless texture. More complex surfaces, such as the vase, utilized procedural textures generated in Substance Painter and were later converted to a toon-shaded look using the Shader to RGB node and value clamping.

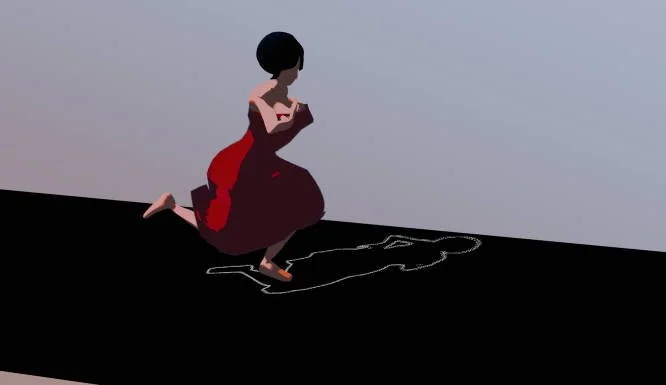
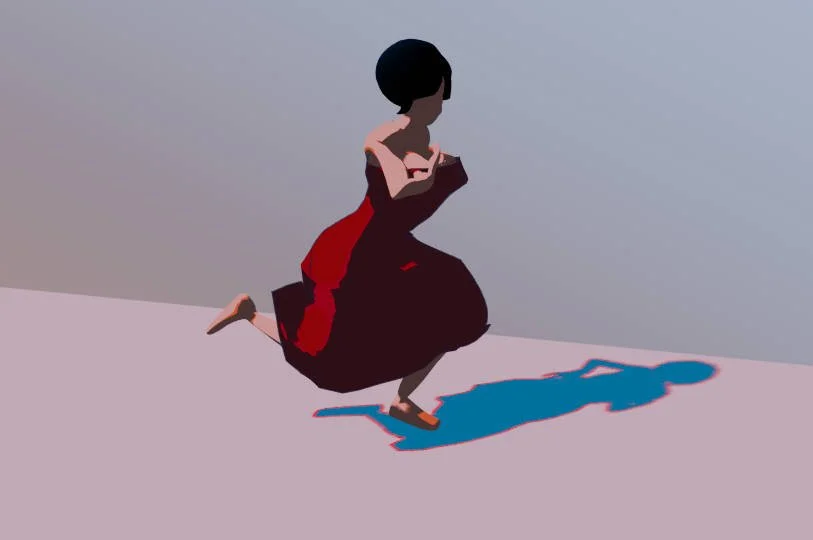
I used a low-poly mesh to preview the overall color composition and assess how shadows would interact within the scene.

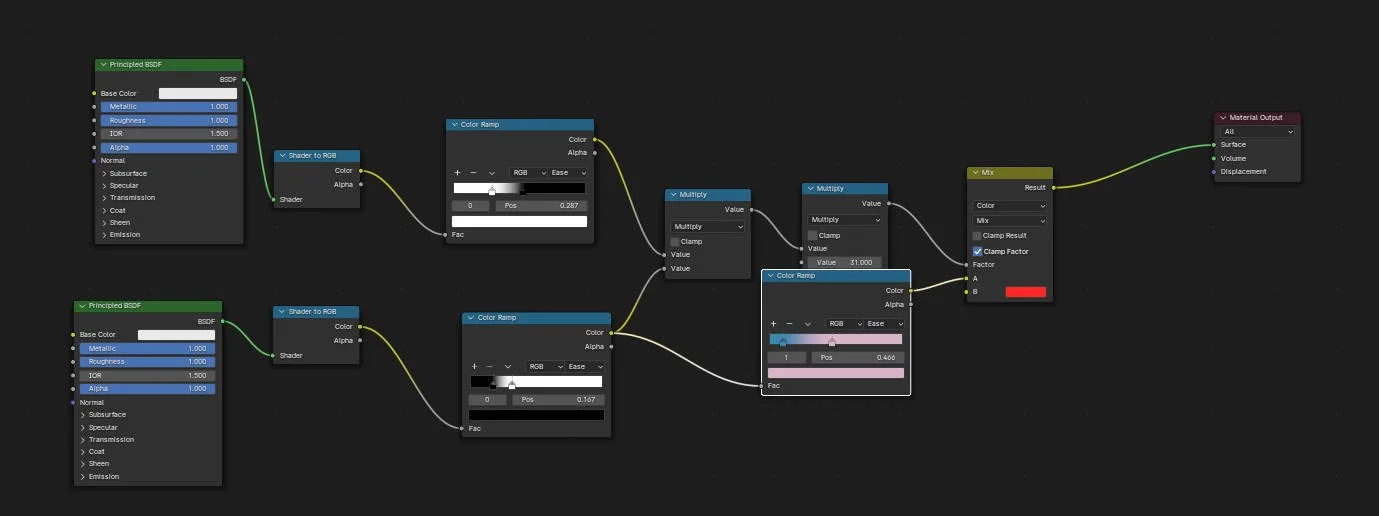
The node graph for the gradient texture. Shader to RGB node converts the brightness into reusable input.

In the final stage, I experimented with two approaches to achieve a torn-curtain effect: Blender’s built-in cloth simulation combined with an edge-fracture workflow, and Houdini’s Vellum solver. In each method, I used an animated box to mask the section of the curtain to be torn, restricting the simulation to that region. While both techniques yielded convincing results, the Vellum solver in Houdini produced a cleaner, more stable tear.

I used an animated Mountain node to generate a morphing, expanding box that introduces variation to the pinned regions of the curtain. The Vellum tear is guided by a pre-fractured edge, fractured and welded together, to dictate exactly where the fabric splits.

Previous
Previous

First Frost( Blender, Houdini, Zbrush)